


Here’s how an animated explainer video is made
Ever wondered what goes into the making of an animated explainer video? Considering getting one made for your brand but aren’t sure how much control you will or should have? What a coincidence! Today we’re giving you the lowdown on the major steps involved in creating an animated explainer through a production company. Enjoy!
1) the concept
So, what exactly are you trying to achieve by making an explainer video? Are you looking to create a rapport with existing customers by explaining your product, or draw in new ones by exploring what problems your brand can solve? Basically, what’s your hook, and how is this explainer video going to show that?
Nailing down your concept is important to measuring the success of your video, and is something you should thoroughly talk about both before and during talks with the production company making the animation. The audience and message you’re going for will ultimately determine the mood of the script and the visuals.
At this point, it’s also wise to work with your chosen production company to map out a preliminary plan for your visual concept: colour palettes, animation style, character design style, etc. A visual style that suits your message will have the best chance of creating a memorable experience for your viewers.
2) the script
Once you’re clear on your concept it’s time to look at writing a script for your explainer. The first thing you need to determine is who you want to write it: your own staff, the production studio, or a third-party professional writer.
Keep in mind the advantages to each. Firstly, you know your company better than anyone, and have the clearest idea of the goals you want to achieve with this explainer. If you’ve got experience in writing short, snappy copy, then you may want to look at writing your own draft script.
Conversely, a production team that specialises in creating explainer videos will often have a deep understanding of what will work in an explainer script. If you know the gist of what you want to say but need help shaping it into the kind of language that will work for an explainer video, then working with the production studio to develop the dialogue will yield the best results. Most studios offer scriptwriting services as part of their production package, and those who don’t are often happy to outsource the service to a professional writer for you.
3) the storyboard
Once a script has taken shape the production company will work on a storyboard. Storyboarding involves drawing panels to help visualise the script—kind of like storybook illustrations. Often they are rough sketches which help give a general idea of how the visuals will represent the script. Keeping these sketches rough allows for quick and painless changes and the ability to play around with different ideas. Other times a storyboard will incorporate elements of the visual concept to give a more fleshed out idea of the visuals—for example, a colour script is a type of storyboard that reflects how lighting and palette changes flow from one shot to the next.
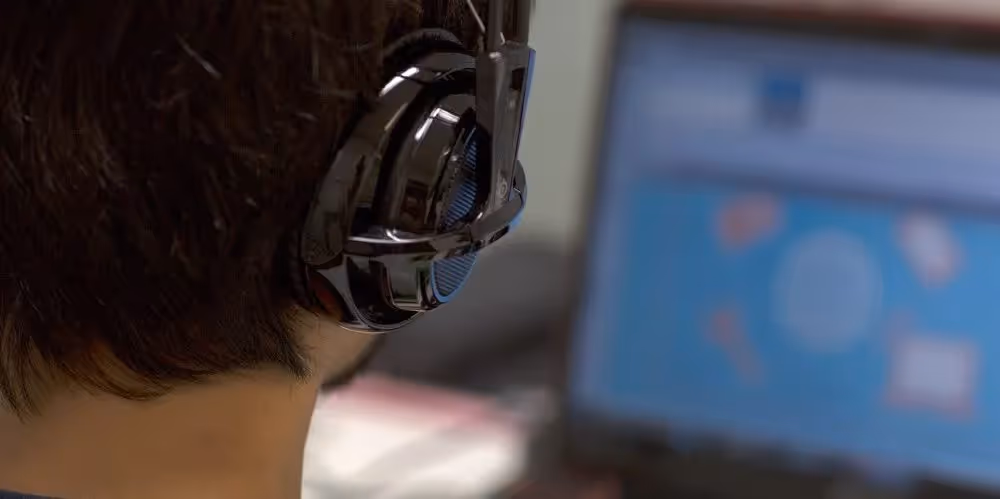
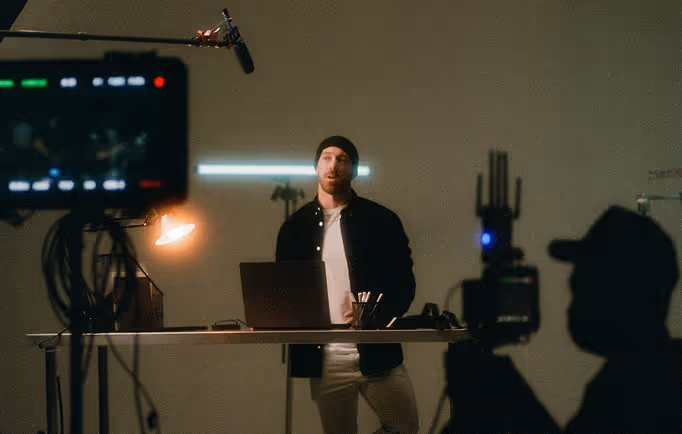
4) the vocals
If your explainer has narration and/or speaking characters, who’s going to voice it? Many production houses will offer the option of handling the vocal services, hiring a professional voice actor for narration, etc, but you may choose to do it in-house or hire a particular actor from a voice over company. It’s recommended to get this done before the animatic stage so the animators can start working on the timing.
5) the animatic
The animatic is like a video version of the storyboard. The rough storyboard visuals are matched up with the vocal scratch track to check how the timing is flowing. Depending on the style and length of your video, and the workflow of the production house, this step may be skipped. It’s more likely to be skipped in a motion graphics video where timing is more easily edited and the vector graphics are designed to flow on from one to another.
6) the animation
Depending on the type of animation this can involve many different steps, including:
Character setup: This may involve constructing vector character pieces in a program like Illustrator, hand-drawing character models in Photoshop, modelling a 3D character in Maya, or setting up a mixture of vector and bitmap layers in Toon Boom.
Rigging: Rigging (for 3D or cut-out 2D animation) involves setting up a ‘bone’ system which can be used to move the character for animation. While this might sound simple in theory, rigging is often a delicate balancing act between getting the right movements and not ‘breaking’ the rig (making the body parts deform or warp in unwanted ways).
Character animation: Here’s where we actually make the character(s) move. Whether you’re working with 3D rigs, 2D rigs, 2D hand-drawn or stop-motion puppets, character animation involves a series of frames that are either captured pose-to-pose (completing the ‘keyframes’ first, then bridging the gaps with ‘inbetween’ movements), or straight-ahead (animating frames in sequential order to gain a free-flowing movement).
Background art: Can be as simple as a plain colour with a gradient (for a motion graphics project) or as complex as a large crowd scene with intricate to-scale building assets, grass where each individual blade sways independently, and explosions going off everywhere. If your project sounds like the latter… you may have gone a bit overboard on your explainer.
Motion graphics: Perhaps instead of a character you want to play around with abstract shapes or text for that ultra-modern logo feel. Motion graphics combines the sleek visual elements of graphic design and makes them, well, motion-y. This type of animation is usually created in a vector-based program which is also capable of a range of camera, lighting and distortion effects, such as After Effects.
Compositing: This is where all your animation elements come together. The character animation is placed into the background art, timed with the vocal tracks, and mixed through with effects where needed to make all the separate elements look cohesive.
7) music and sound effects
Similarly to the vocal recording, music and sound effects are a service usually offered by the production company either in-house or outsourced to a specialist. Even if you don’t have specific musical knowledge, it’s a good idea to chat to your production company during the Concept phase about the kind of mood you want the music to convey.
Sound effects help emphasise the visual cues and, with a format like explainer videos, are especially helpful in keeping the viewer’s attention. But depending on your video’s visual content, you may or may not need sound effects, or might choose to rely solely on music/narration to carry the audio track.

Start a

with us
